Thursday, June 23, 2011
Thank you for the card
Just a quick note to say thank you for the special notes in my card. They made me smile. I hope you traveled safely to your homes and are ready for R & R. I will email you when to send in your transcript request. Don't forget to send your artist's statement if you haven't already. Keep in touch, ML
Monday, June 20, 2011


Looking Forward to seeing everyone in Spartanburg
I returned to SC late last night from the reading. I am currently reading and checking your syllabus, museum and CLIA lessons you have been busy working on while I was gone. I look forward to seeing everyone tomorrow at 8:30. Please bring back your large notebook to class. I have lots of secrets to share about the reading.
Kathy's posts
Question #5
I have to say that I am excited about all of it!--but, like everyone else I too feel a bit more comfortable with the breadth section of the portfolio. Seems as if the breadth section is an extension of what I already do, now it has an even higher purpose! My brain has been on overdrive thinking of new lessons/ideas to encourage even more sophisticated problem solving and creative thinking. I also feel like the breadth section is THE avenue for formulating ideas for the concentrated production. I think I'll do as Robert talked about, and save the concentration section of the portfolio until the end. This way the students have a lot of resources and ideas from which to work.
Question #6
There is no question that I will have a selection process for the AP class! It will include prerequisites, teacher recommendations, and a preview of artwork. I think all of these will aid in assessing ability along with work ethic. I also like Robert's idea of having 2 summer assignments due on the very first day. I think this will be another opportunity to evaluate the student.
Question #7
I'm at the back end of completing my syllabus!--I still have to add summer assignments, overview of class assignments, and a rubric. I added specific sketchbook instructions and suggestions that encourage growth as an artist. The sketchbook/journal is a tool to encourage thoughts and ideas and could be incorporated in all areas of study.
Question #8
Vintage Paper Art
Step 1: I did a contour sketch of the image onto the canvas--making sure to include even the most subtle value changes. In the end it will look somewhat like a "paint-by-number" drawing.
Step 2: I organized my papers in a value scale.
Step 3: I began applying the small cuts of paper (overlapping edges) to the darkest values if the image first and then working my way to the lightest values. I use Mod Podge to adhere the paper to the canvas--this not only works as a glue, but as a sealer as well.
Step 4: After completing the image, I began working in the negative space. I kept all of the paper cuts in the background running horizontal in contrast with the image.
Step 5: I applied a final sealer coat over the entire canvas. I used Mod Podge for this piece, but have used spray acrylic sealer as well.
Sunday, June 19, 2011
Mixed Media art piece


I had so much fun doing this project! While the actual making of the work only took several hours, I have been walking around with the "story" in my head for over a week! I am come to the quiet conclusion that I really love working in/with mixed media, and plan to do more .. I have dozens of these "stories" in my head, just waiting for the medium to express it.
Process:
1. Decide the "story" or idea for your piece.
2. Look around your surroundings for various items that can work to express your idea - whatever you lack, go shopping! I fell in love with Hobby Lobby.
3. While shopping, I made sure that I chose items that "felt" right .. they worked with the color scheme and time era I was after.
4. From my family photo album, I chose some old photos. My husband scanned them in, photoshopped little blemishes, then printed them.
5. I laid out all my gathered materials - including the 'sandwich frame' I already had - then began to make some aesthetic decisions about what got layered where.
6. I cut, tore, collaged, wrote, placed and re-placed, and layered all of the chosen elements.
7. Took a break for dinner!
8. After coming back to it, I made sure I liked the layout before gluing.
9. Secured all framing.
10. Done!
Saturday, June 18, 2011
News from Ohio
Today is the last day of the reading. 43,000 portfolios will have been scored by at least 7 readers. I have been averaging about 400 per day. Jane Harlow (who is one of your authors in the Breadth book) and I went to dinner last night at the Hofbauhaus in Newport, Kentucky and we then walked from Kentucky to Ohio via the Purple People Bridge. We had great time but it was almost two miles back to the hotel. I am sore this morning. I have computer problems in the room so I am in the business room working. I have received many of your CLIA lesson plans. When I return tomorrow, I will check on them and let you know if all is well. I love all the process photos being posted. Looking forward to seeing all of you on Tuesday!
Friday, June 17, 2011
Artwork process photos
 These are my initial compositions based on a doodle I did while working on a Sunday at my part time job. It came back to mind after the still life drawings. It kind of resembles a light. ------>
At the start of this week, I was over inspired and was flooded with ideas...which then lead to me not sure where to begin.

<---------- This is where I stand now at the end of the week. I used watercolor pencil hoping for a spark of creativity...and it worked. I know where I want to take this piece now. Yay for repetition.
I will post another photo as I proceed further toward the final product.


Thursday, June 16, 2011
A Father Figure is Missing From His Home process photos
 Glued the Absentee Father in Jumpsuit Orange to the background
 Painted "Jail Bars"
 Finished Product - these uploaded out of order, and I can't figure out how to change the order of the pictures.
 Cut the Male Restroom Silhouette out
  Traced the Absentee Father Silhouette onto model house siding
 I used an 8 X 10 frame, took the back off, filled in the "hold on the back" thingy holes with spackle, turned the back around, and moved it to the front. The "front" is now the back. This enables me to use the frame as more of a curio.
 Applied Pthalo Blue mixed with concrete powder and play sand to outside of box with pallette knife. You can see the silhouette from where I painted the outline of the male figure with "Jail Jumpsuit Orange"
 I know we only had to do one piece, but I chose to present two pieces in order to represent the Concentration section of the portfolio. These pieces are based on things I've heard students say that were very powerful and gave me insight into their home life. I've always been amazed that some of my students even show up for school on a regular basis given the heavy distractions they have to deal with in their paradigm of reality. One mom told me (when I called about her son's behavior) that "He's been like this ever since his dad got locked up". I also overheard a girl saying to another student - unaware that I could hear- "The last time I saw my dad was in bond court". If I was in this sort of situation growing up, with one of my parents incarcerated for a long time, I don't know that I had the mental fortitude to deal with this as well as some of my students do. I work hard to keep this sort of imagery simple. The "Father Figure is Missing From His Home" piece presented is the result of multiple sketches, attempts, failures, and ultimately, supremely simplified in presentation. The viewer is not meant to get lost in the details. The male figure is anonymous for a reason. He represents the father of one of the students some of you teach.
"Bond Court part deux"
 Purchased handcuffs, sawed them in half
 Self Portrait with safety gear - worked outside for ventilation purposes
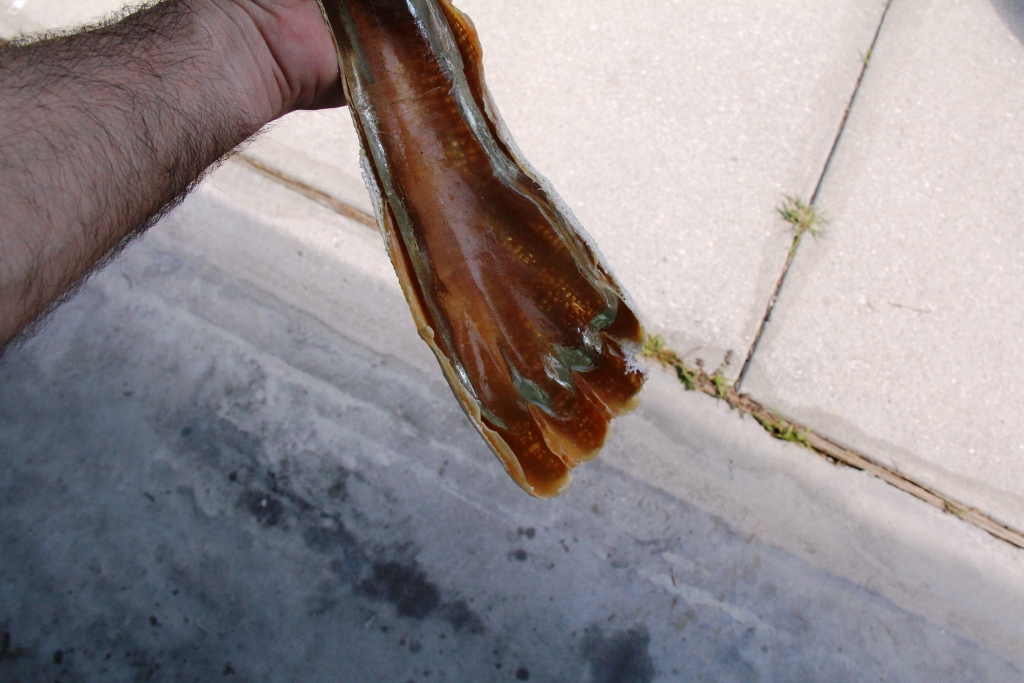
 Poured Resin in mold, arms successful, obviously made from mannequin (the wrist/arm joint is obvious) - doesn't hurt aesthetic/point of picture, so I'll roll with it.
 Mounted everything with resin. Coated entire piece with resin as well to ensure good bond.
Wednesday, June 15, 2011
Anne's Process


 I am having a hard time figuring out how to add text so hopefully this works and my words and photos make some sort of visual sense.
I rarely draw and paint from my reference directly, whether its a photo or I am drawing from life. Instead I try to achieve the essence of the subject matter and translate that through my media. The first image is one of a few photo references I used. The second is my sketch using graphite. The third is the same sketch, with crayon added to help map out a color palette. After seeing on paper what was in my head, I made some changes. I decided to omit or alter certain colors and change the placement of others. The fourth image is the final piece which breaks significantly from the hard lines and angles of my sketches.


Process Photo #3 Kathy Moore

This is titled "Pachyderm". We are HUGE Alabama fans so this is for my husband's game room!
I penciled in the image--it almost looked like a paint-by-number when I finished. I wanted to make sure that I included all of the subtle value changes. I arranged the paper in a value scale--and then proceeded to cut the small pieces as I worked through the imagery.

Process Photo #1 Kathy Moore

I enjoy working with vintage papers--I am working with a 1908 Sears Catalogue (it's a reproduction from the early 70's). The paper has unique qualities--on this particular piece I am using the paper as-is because I want it to have a sepia tone.
Tuesday, June 14, 2011
News from Ohio
We have almost finished grading 2d portfolios today and will be starting on drawing tomorrow. We have worked from 8-5pm the past three days plus 2 nights sessions after dinner break. My butt is dragging....but it has been good. Lots of ideas and tips to bring back for everyone. I have posted the last question for the blog. Don't forget to post.
Last Question
What do you think is the most used concentration theme this year? How will you encourage students to branch out from an over used theme?
3D clay piece

 The top picture shows the support in use. I have put a slab around the bottom portion and am in the process of adding coils for the center section. In the following picture I am throwing the top section.
In the final picture I'm putting it all together and adding details.

Monday, June 13, 2011


Sunday, June 12, 2011
News from Ohio
Hi All,
After spending 6 hours in Charlotte trying to get to Cincinnati, I finally arrived at 9pm yesterday. We have 43,000 you know what to read. It has been a very busy first day. I have tried feet from walking the floor. I know you have lots of homework from your mean professor but I know you will come through like champions that you are. See you in a week and two days!
After spending 6 hours in Charlotte trying to get to Cincinnati, I finally arrived at 9pm yesterday. We have 43,000 you know what to read. It has been a very busy first day. I have tried feet from walking the floor. I know you have lots of homework from your mean professor but I know you will come through like champions that you are. See you in a week and two days!
Question #7
How is your syllabus/syllabi going? Any concerns? What was one item that you found to be great for any syllabus?
Question # 6
Briefly explain how you will select students to take the AP class. Will there be a selection process? If not, how will you get the advanced students to take the class.
Question #5
Are learning about breadth and concentration in our class last week? Which of these areas do you feel the most confident to teach and why do you feel this way?
Process photos for "Bond Court"


I'm attaching some of the process photos for "Bond Court". These photos are out of order, but they document the initial process of using Yes Paste to attach the fabric to the wood, "modified" acrylic paint to paint the textured fabric, and the casting of the clear arms....now I'm off to Dollar Tree to buy some plastic handcuffs. More pics soon.
Saturday, June 11, 2011

Friday, June 10, 2011
Quick Note for CLIA lesson & Thanks
Please save your CLIA lesson using the title of the lesson and your last name when you email it to me. This will make it easy to reference when it is placed on the flash drive. Robert and I wanted to say a big thanks for your great cooperation and being very prompt to class. It makes things run smoother. It was be great to work with you these past few days. I'm off to Ohio in the morning. I will be posting questions soon. See you on the blog!!
Wednesday, June 8, 2011

Subscribe to:
Comments (Atom)